DIY GUIDE KNIT IN FRAME
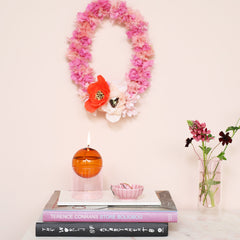
In collaboration with knitting designer Signe Kamper Kankelborg, here comes an idea of what you can put in your transparent frames from our FRAMELESS collection.
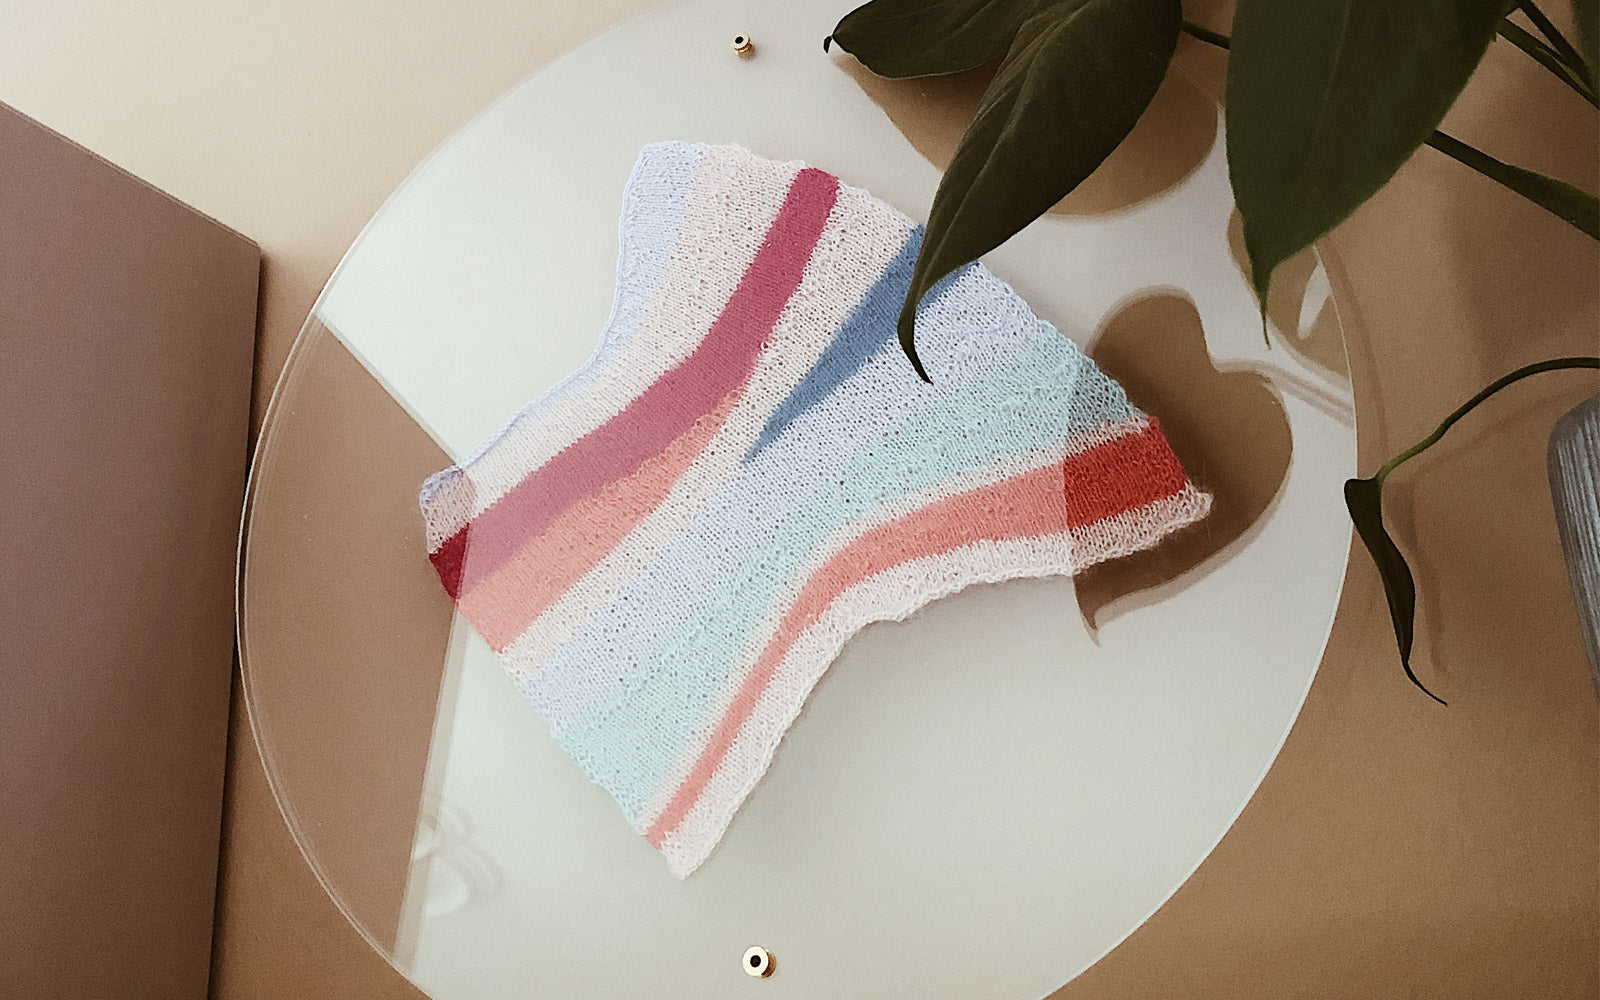
Signe has knitted a small piece of art and shows you here step by step how to knit your very own work of art. If you want to read a bit more about Signe and her knitting universe, you can click here.

KNITTED ART
This little knitted piece of art is super simple, quick to knit and fits perfectly in the beautiful Studio About frames FRAMELESS . Knitting in frames gives a completely unique expression and is a wonderful alternative to the classic picture or painting.
"It's not difficult. You just have to master stockinette stitch and double crochets to get to the finish line. And if you follow a few main rules, you can freestyle endlessly in terms of both colors and shapes." - Signe Kamper Kankelborg @plummun.

FREE KNITTING ART PATTERN
REMEMBER RULES
- Make sure to knit on a small needle - max 2 - 2.5 mm, so that your work of art is not mast flat between the two pieces of glass.
- Choose yarn in full or part wool. Wool is more grateful than, for example, cotton and will also hide any small irregularities. And since this is a work of art intended for display in the home, the details of your work may be looked at extra carefully.
- Play with different types of yarn from your stash – combining different qualities will give a cool look.
- Always remember edge stitches at each end of the needle, so that all sides will be beautiful to look at.

YARN SUGGESTIONS
ALVA from Filcolana, 100% Alpaca, Running length: 175 m / 25 g.
KNITTING STRENGTH
34 sts * 51 rows = 10 * 10 cm (knit strength is not that important here).
INFO ABOUT THE SMALL PIECE OF KNITTING ART
The knitted artwork is knitted exclusively in stockinette stitch (knit on the right side and purl on the wrong side), and double pointed needles, which make it possible to knit 'wedges' in contrasting colours, and which at the same time give the knitted piece its organic shape. I recommend turning with the German short rows method, which gives a nice and almost invisible turn. If you don't know German short rows, you can find a lot of videos on YouTube that guide you through the method.
Choose the colors to be included in your artwork or let the artwork speak to you along the way and add the colors you love as the work progresses.
KNITTING PATTERN
Cast on 80 stitches on your needle (this gives a perfect width for Studio About's round Frameless in A4 size. You can easily adjust the stitch count up and down for other frame sizes.
Tip: If you knit with the recommended yarn ALVA or another obvious splicing yarn, please splice the ends together every time you want to change colour. It gives you a piece of art without too many ends to tie up at the end.

Edge stitches (KM) are knitted as follows on both straight and purl needles throughout the work (this method gives a nice and full edge):
The first stitch is taken off the wrong side, the last stitch is knitted
first row purl over all stitches (remember KM at each end)
Now knit the desired number of rows back and forth with the same color. Finish with a needle from the wrong side.
WEDGE WITH CONTRAST COLORS
Change color. Knit over half or 2/3 of all stitches (or desired number), turn, purl back, knit until 2 to 3 stitches before the last turn, turn, purl back, knit again until 2 more 3 stitches before the last turn, turn. Repeat this until you can't flip any more or until you've flipped a desired number of times.
Change (if necessary) color and knit a desired number of stitches back and forth before repeating a 'wedge with contrasting colour' (if necessary with a new colour).
The rest of the piece is knitted in the same way as described above, where you partly alternate between different colors and partly alternate between knitting large and small wedges and pieces simply with plain stockinette stitch without turns. Where and when you change colors is entirely up to you. Feel free to let your work progress without a fixed plan from start to finish.
Tip: you can also easily turn from the wrong side so that the wedge appears from the other side.
SETTLEMENT AND TERMINATION
When you are satisfied with the length and general look of your piece, fasten off with knit over knit from the right side (do not tighten). Staple all ends neatly.
Rinse your work in lukewarm water - preferably with a bit of wool soap.
Now your work should dry flat. It is an advantage to block the work during the drying process, so that you avoid rolling edges. Carefully spread your knitted piece out on a flamingo plate with a towel over it or similar and insert needles along all four sides.
When the work is completely dry, it is ready to be placed in one of the beautiful frames from Studio About's FRAMELESS collection .