
 We are completely captivated by paper flowers, and therefore it was natural to ask our all together paper flower queen Kristina Labdecor if she would give an offer for a beautiful creation in our new FRAMELESS frames.
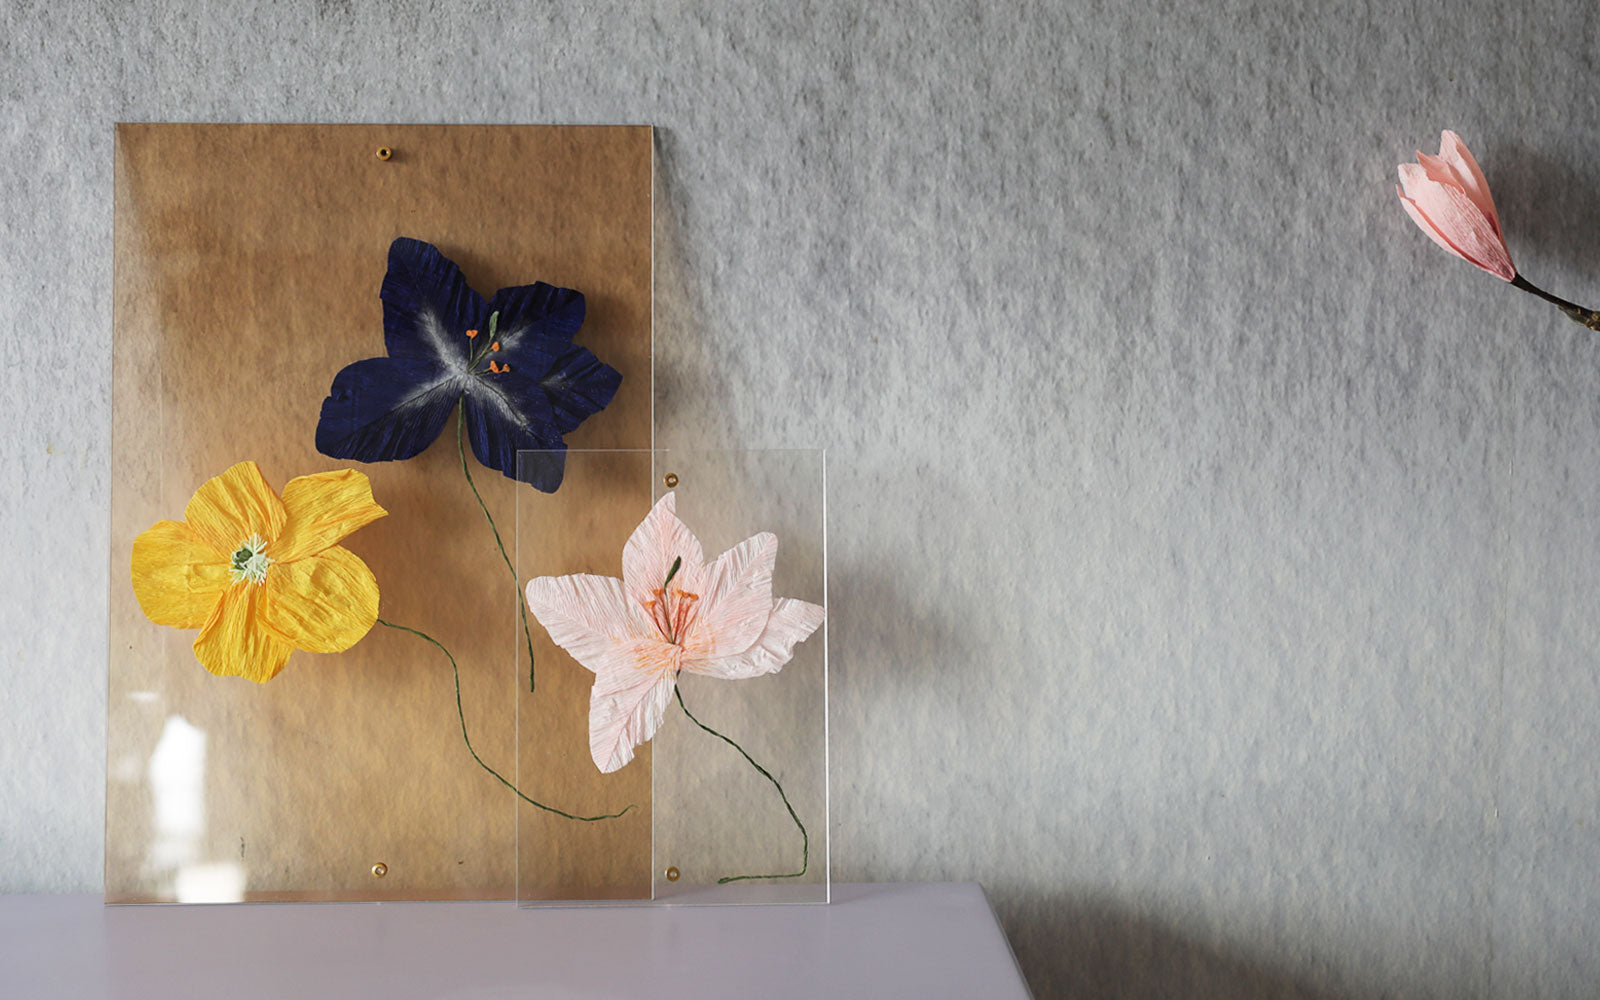
This resulted in this beautiful flat paper flower, inspired by lilies. If you also want to try your hand at pressed paper flowers, she has written this little DIY for a flat lily. You can decide for yourself whether you want to create the flat flowers with a natural look or whether you want to make them according to free imagination and possibly decorate with glitter etc.
Have fun from Kristina and Studio About.
DIY: MAKE A FLAT LILY PAPER FLOWER
MATERIAL
⦁ Crepe paper - it must be in the color you want the flower petals in and green crepe paper for the stem and stamens.
⦁ Thin floral wire covered with green paper.
⦁ A sharp pair of scissors
⦁ Tacky glue or other fast-drying glue
⦁ Crayons for painting on flower petals
⦁ Pliers to shape the stamens with
⦁ Grated blackboard chalk for the stamens
STEP 1: CUT FLOWER LEAVES
You must first cut a good template in cardboard/paper that is shaped like a rectangle and measures approx. 6.5 cm. in width and 10 cm. in length.
Then use your template to cut 5 pieces. rectangles in the crepe paper for the flower petals. The crepe paper must be turned so that the folds are on the long side. See photo below.

GET INSPIRED BY OUR FINISHED PAPER FLOWERS HERE.
Then cut each of the rectangles in half from one corner to another. Turn the paper triangles over and then glue them together as shown in the photo. That is to say so the folds face the same way on the two triangles, and you get some dragon-like figures.
The glue must dry, and then you cut the 5 "dragon figures" so that they look like flower petals. You can see the shape in the pictures.

STEP 2: COLOR THE PETALS
Then you color each flower petal (only on one side) with crayons in the middle. Here I have used an orange chalk which I have torn and then painted on with a small brush. Then gently twist each leaf around the edge to make the leaf look more realistic.

STEP 3: SMALL DUST CARRIERS
You now need to make four stamens for your flower. You must cut approx. 5 cm. of the green floral thread. With the pliers you shape one end. Glue a small piece of paper around the top of the stamens. When the paper is dry, cut the paper so that the shape of the stamens emerges again. You must now cut the tops of the stamens in glue (don't forget too much, just so that it is covered with a thin layer of glue) and then dip them in the torn crayon.

STEP 4: LARGE STAMEN AND STEM
While the small stamens are drying, make the large green stamen in the middle. Now cut 6.5 cm of the green flower wire and attach a small piece of green crepe paper with glue in the same shape as in the picture.
I have made the silk itself by twisting a piece of green crepe paper so that it takes up as little space as possible in the frame.

STEP 5: COLLECTING THE FLOWER STONE
When everything is dry, glue the flower together with stem and leaves. You can always pimp your flat flower even more with glitter or whatever you think is beautiful.

IF YOU NEED FRAMES FOR PRESSED FLOWERS, SEE OUR ENTIRE COLLECTION OF TRANSPARENT FRAMES HERE.
STEP 6: FRAMING
When the flower is dry, it is a good idea to place it between some thick books for a week, then it will become completely flat. Then it's time to put it in a beautiful frame, and our new frames are an obvious choice. You unscrew the two chicago screws and insert your new flat flower. Finally, you screw the frame back together, and voila you have framed your very own work of art.

STYLING
There are many options for how you can style your frame with your new flower in your home. You can either hang it over a small nail on the wall, as the screws in the frame are hollow. You can also place them as a still life on a shelf or in a window, so that the transparency of the frame is utilized. You can also put a fishing line in the hole of the screw and hang it free-hanging in the room. We look forward to seeing how you play with the possibilities of the frame and hope to see many beautifully pressed flowers in our new frames .
 IF YOU HAVE MADE A PAPER FLOWER IN A FLAT VERSION, THEN FIND THE PERFECT FRAME HERE.