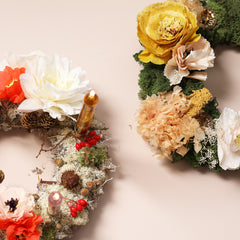

The elegant frames from the FRAMELESS collection are a new interpretation of the classic clip frame. A frame that lets the content be the focus, and which is elegant, light and rigorous.

“ I hope that we will see completely new and surprising suspensions that we could not have imagined. As I said, the frames provide new opportunities to occupy the rooms and not just the surfaces of the rooms. In addition, I hope that we will see hangings in front of windows, and I can reveal that we are working on a series of art prints that support the idea of a directionless frame that can be experienced from both sides ", says Mikkel the designer behind STUDIO ABOUT.
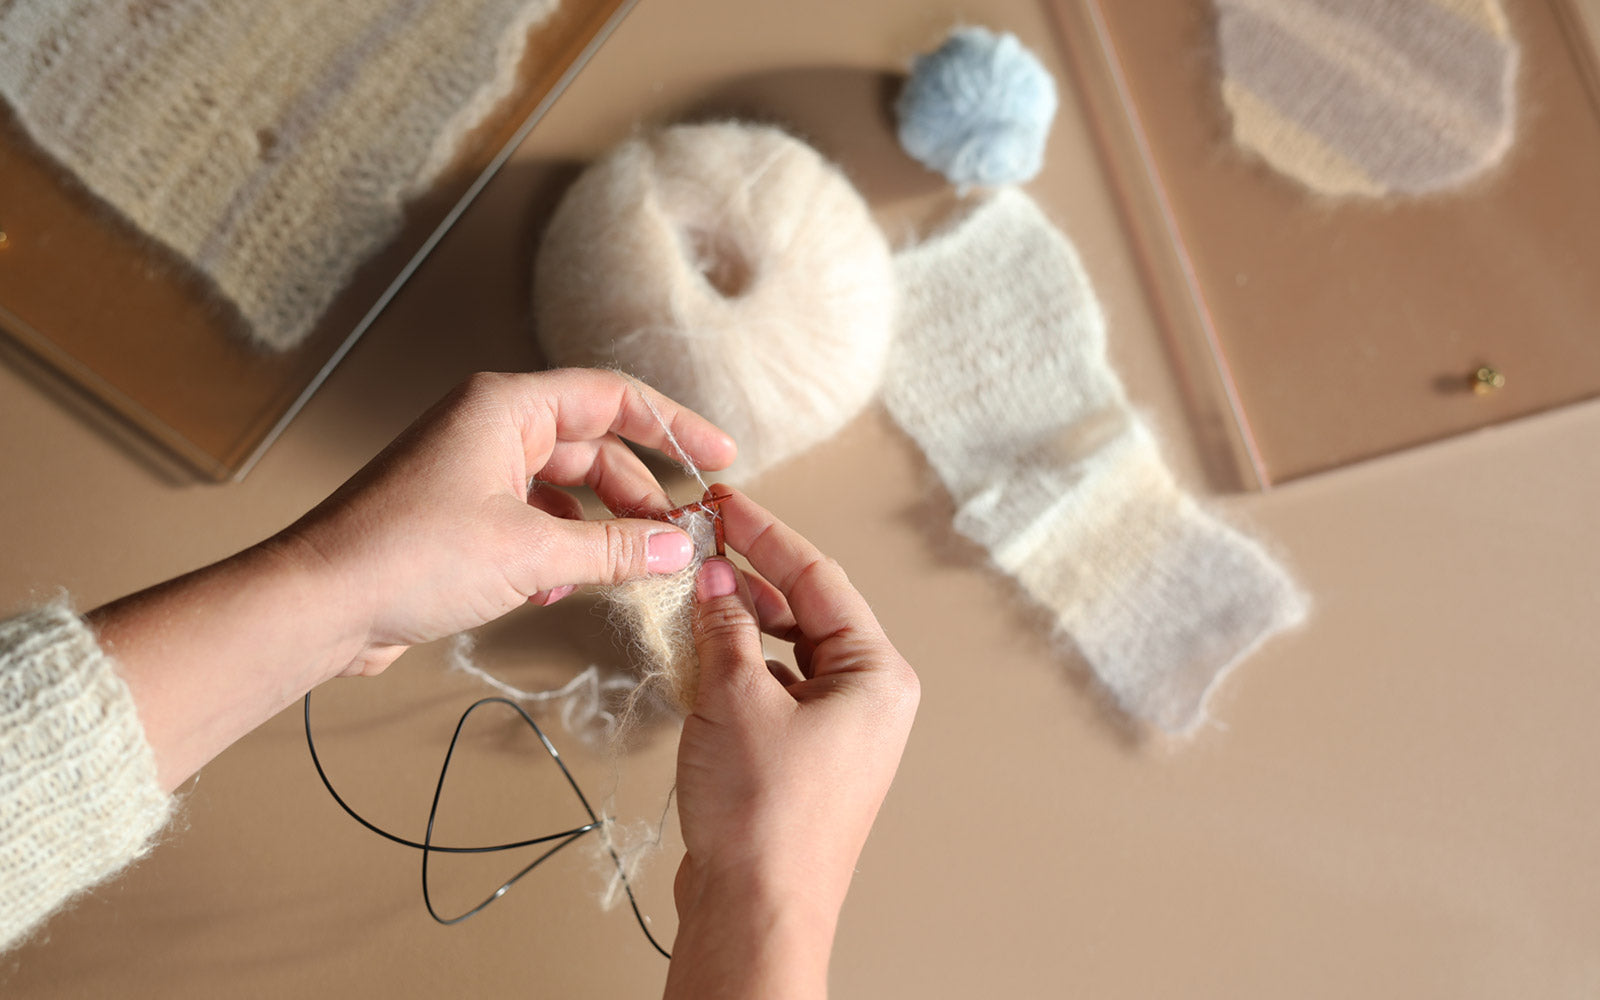
In this article, we will show you how you can easily and quickly create a small piece of art from your yarn scraps.

DIY – MAKE A CHRISTMAS GIFT YOURSELF WITH YARN REMAINS
Yarn and knitting are the new black, and there have never been as many home-knitted sweaters in the city as there are now. The whole situation with corona has meant that we immerse ourselves a little more in projects and hobbies than before. That's why now is the time to grab the sticks and create a small, personal Christmas present for someone you care about.
This project doesn't take long and can be made from your yarn scraps. The recipe can be followed, but there is plenty of opportunity to design and put together exactly the shape and color you want.
The finished knit finally comes in a frame from Studio About, which, with its transparency and passepartout, is easy to use creatively.

FREE KNITTING PATTERN WITH REMAINING YARN
MATERIALS
Pin 2.5 mm
Various Mohair remnants
FRAMELESS FRAME (Here we have used FRAMELESS A4 in the color amber and FRAMELESS I A5 in the color rose)
TIPS
Edge stitches (KM) are knitted on both straight and purl needles throughout the work (this method gives a nice and full edge)
Color change - break the yarn after the end of the needle, leave the long ends hanging or staple them once and cut them off.

RECIPE FOR WORK WITH REMAINING YARN FOR THE FRAME A4 FRAME
int. = 2 quite the same
row = insert the needle from the front into the chain between the stitches and knit.
ext.h = insert the needle into the chain from the back and knit the stitch turned right.
Cast on 10 sts on needle 2.5 mm.
1p : Knit
2p: Purl
3rd row: 1 row, 1 row, knit 8 sts, 1 row, 1 row = 12 sts
4p: Purl
5p: 1 row, 1 row, knit 12 sts, 1 row, 1 row = 14 sts
6p: Purl
7p: 1 row, ext.v, knit 12 sts, ext. H, 1r = 16 m
8p: Purl
9p: COLOR CHANGE 1k, ex.P, knit 14 sts, 1 ex.H, 1 k = 18 sts
10p: Purl
11p: 1 K, ex.P, knit 16 sts, 1 ex.K, 1 K = 20m
12p: Purl
13 rows: 1 row, 1 row, knit 18 sts, 1 row, 1 row = 22 sts
14p: Purl
15p: 1 row, 1 tr, knit 20 rows, 1 tr, 1 row = 24 sts
16p: Knit purl
17-20p: knit stockinette stitch without increases
21p: *K1, turn over* repeat ** 7 times. Knit 17
22p: Purl, let the loops fall off.
23p: 1 K, 1 tr.K, knit 22 sts, 1 tr.H, 1 k = 26 sts
24p: Purl
25p: 1 row, ext.l, knit 8 sts, *1 row, turn over* repeat * * 6 times, knit 9, 1 ext.h, 1 row = 28 sts
NOTE : color change on needle 29
26-30p: Knit stockinette stitch without increases
31p: Knit 16, *K1, turn over* repeat ** 6 times, knit 5.
32p: Purl, let the loops fall
33p: K1, 1 int, knit until 3 stitches remain, K2 sl, K1 = 26 sts
34p: Purl
35p: K1, 1 int, knit until 3 stitches remain, 1 int., 1 k = 24 sts
36p: Purl
37p: 1 knit, 1 int. Knit until 3 stitches remain, 1 int., 1 row = 22 sts
38p: Purl
39p: 1 straight, 1 int. Knit until 3 stitches remain, 1 int., 1 row = 20 sts
40p: Purl
41p: 1 knit, 1 int. Knit until 3 stitches remain, 1 int., 1 row = 18 sts
42p: Purl
43p: 1 knit, 1 int, knit 8, *k1, turn* Repeat ** 4 times, 1 int., 1 k = 16m
44p: Purl, let yarn over fall
45p: 1 straight, 1 int. Knit until 3 stitches remain, 1 int., 1 row = 14 sts
46p: Purl
47p: 1 knit, 1 int., knit 8 knits, *k1, turn* Repeat ** 6 times, 1 int., 1 k = 12 sts
48p: Purl
49p: 1 straight, 1 int. Knit until 3 stitches remain, 1 int., 1 row = 10 sts
50p: Purl
Turn the work over and fasten off.

FINISH DIY
Wash - let your work soak for 10 min, rinse and block it with pins so that you get a nice finish and the work does not roll.
MOUNT IT IN A FRAMELESS FRAME FROM STUDIO ABOUT.
The talented knitwear designer @plummun has also given her take on a DIY for FRAMELESS, you can find it here: KNITTING IN FRAME.


